Traveling salesman portrait in Python
Published on April 12, 2018 by Dr. Randal S. Olson
data visualization optimization python traveling salesman problem tutorial
3 min READ
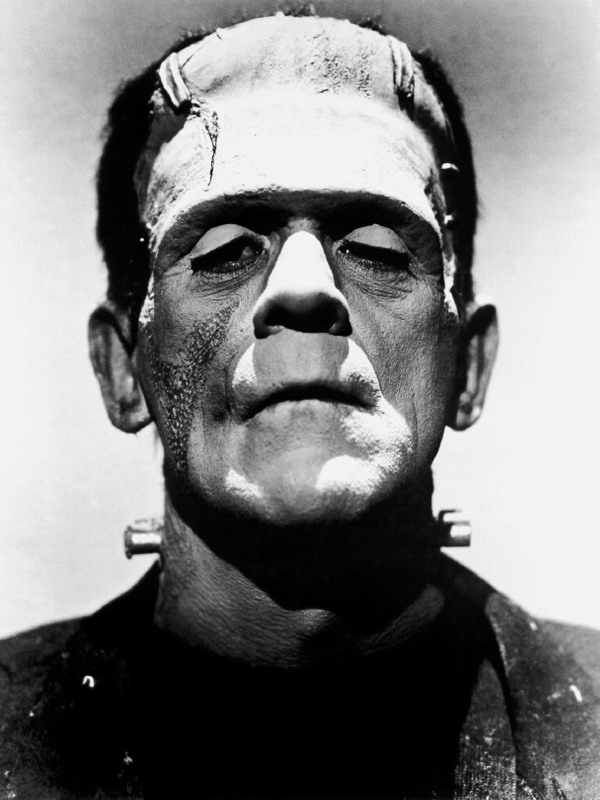
Last week, Antonio S. Chinchón made an interesting post showing how to create a traveling salesman portrait in R. Essentially, the idea is to sample a bunch of dark pixels in an image, solve the well-known traveling salesman problem for those pixels, then draw the optimized route between the pixels to create a unique portrait from the image. Antonio is a fan of Frankenstein, so he created a traveling salesman portrait from an old Frankenstein image.
I liked the idea of the traveling salesman portrait, so I thought it would be a fun exercise to re-create it in Python. Below, I walk through the code line-by-line. If you want the full code snippet, you can find it on my personal projects GitHub repository.
To start, we need an image of someone. For ease of comparison, I decided to use the same image as Antonio. Franky is looking handsome as ever.
import urllib.request
import os

image_url = 'http://www.randalolson.com/assets/2018/04/Frankenstein.jpg'
image_path = 'Frankenstein.jpg'

if not os.path.exists(image_path):
    urllib.request.urlretrieve(image_url, image_path)
Note: We can use any image we want, but this algorithm works best for images with light backgrounds.
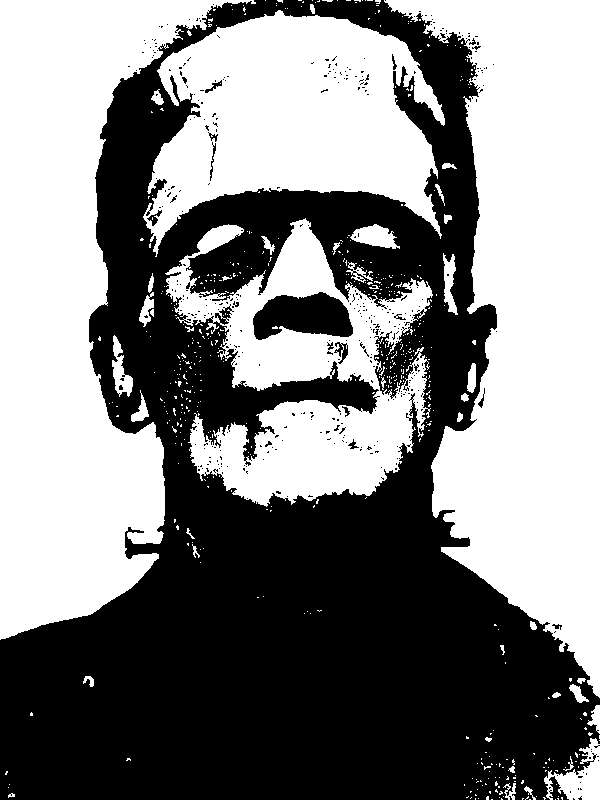
Next, we need to convert that image to black and white. PIL makes this operation pretty straightforward.
from PIL import Image

original_image = Image.open(image_path)
bw_image = original_image.convert('1', dither=Image.NONE)
bw_image
Now we can use NumPy to identify the black pixels and select a random subset of them:
import numpy as np
import matplotlib.pyplot as plt

bw_image_array = np.array(bw_image, dtype=np.int)
black_indices = np.argwhere(bw_image_array == 0)
# Changing "size" to a larger value makes this algorithm take longer,
# but provides more granularity to the portrait
chosen_black_indices = black_indices[
                           np.random.choice(black_indices.shape[0],
                                            replace=False,
                                            size=10000)]

plt.figure(figsize=(6, 8), dpi=100)
plt.scatter([x[1] for x in chosen_black_indices],
            [x[0] for x in chosen_black_indices],
            color='black', s=1)
plt.gca().invert_yaxis()
plt.xticks([])
plt.yticks([])
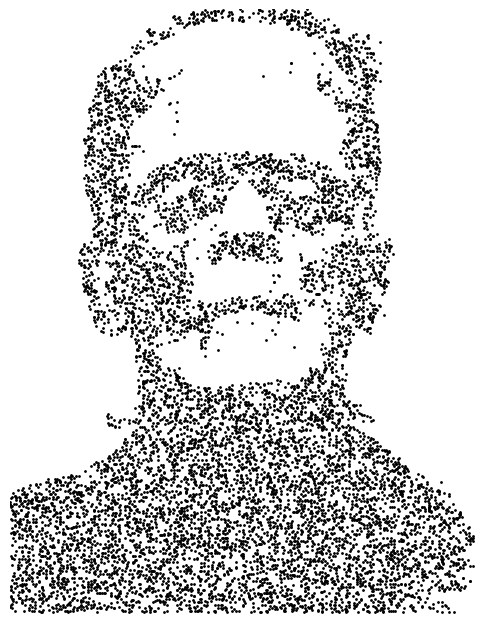
Now all that's left to do is solve TSP for those 10,000 pixels. To do that, we first have to define the distance between every pixel. In this case, we're going to define distance between two pixels as the Euclidean distance between their x,y coordinates in the image. With that definition in mind, we can calculate the distances between all 10,000 pixels:
from scipy.spatial.distance import pdist, squareform

distances = pdist(chosen_black_indices)
distance_matrix = squareform(distances)
Great! The result is a giant 10,000 x 10,000 matrix with the Euclidean distances between every pixel. Now we can provide that matrix to an off-the-shelf traveling salesman problem solver:
from tsp_solver.greedy_numpy import solve_tsp

optimized_path = solve_tsp(distance_matrix)

optimized_path_points = [chosen_black_indices[x] for x in optimized_path]

plt.figure(figsize=(8, 10), dpi=100)
plt.plot([x[1] for x in optimized_path_points],
         [x[0] for x in optimized_path_points],
         color='black', lw=1)
plt.xlim(0, 600)
plt.ylim(0, 800)
plt.gca().invert_yaxis()
plt.xticks([])
plt.yticks([])
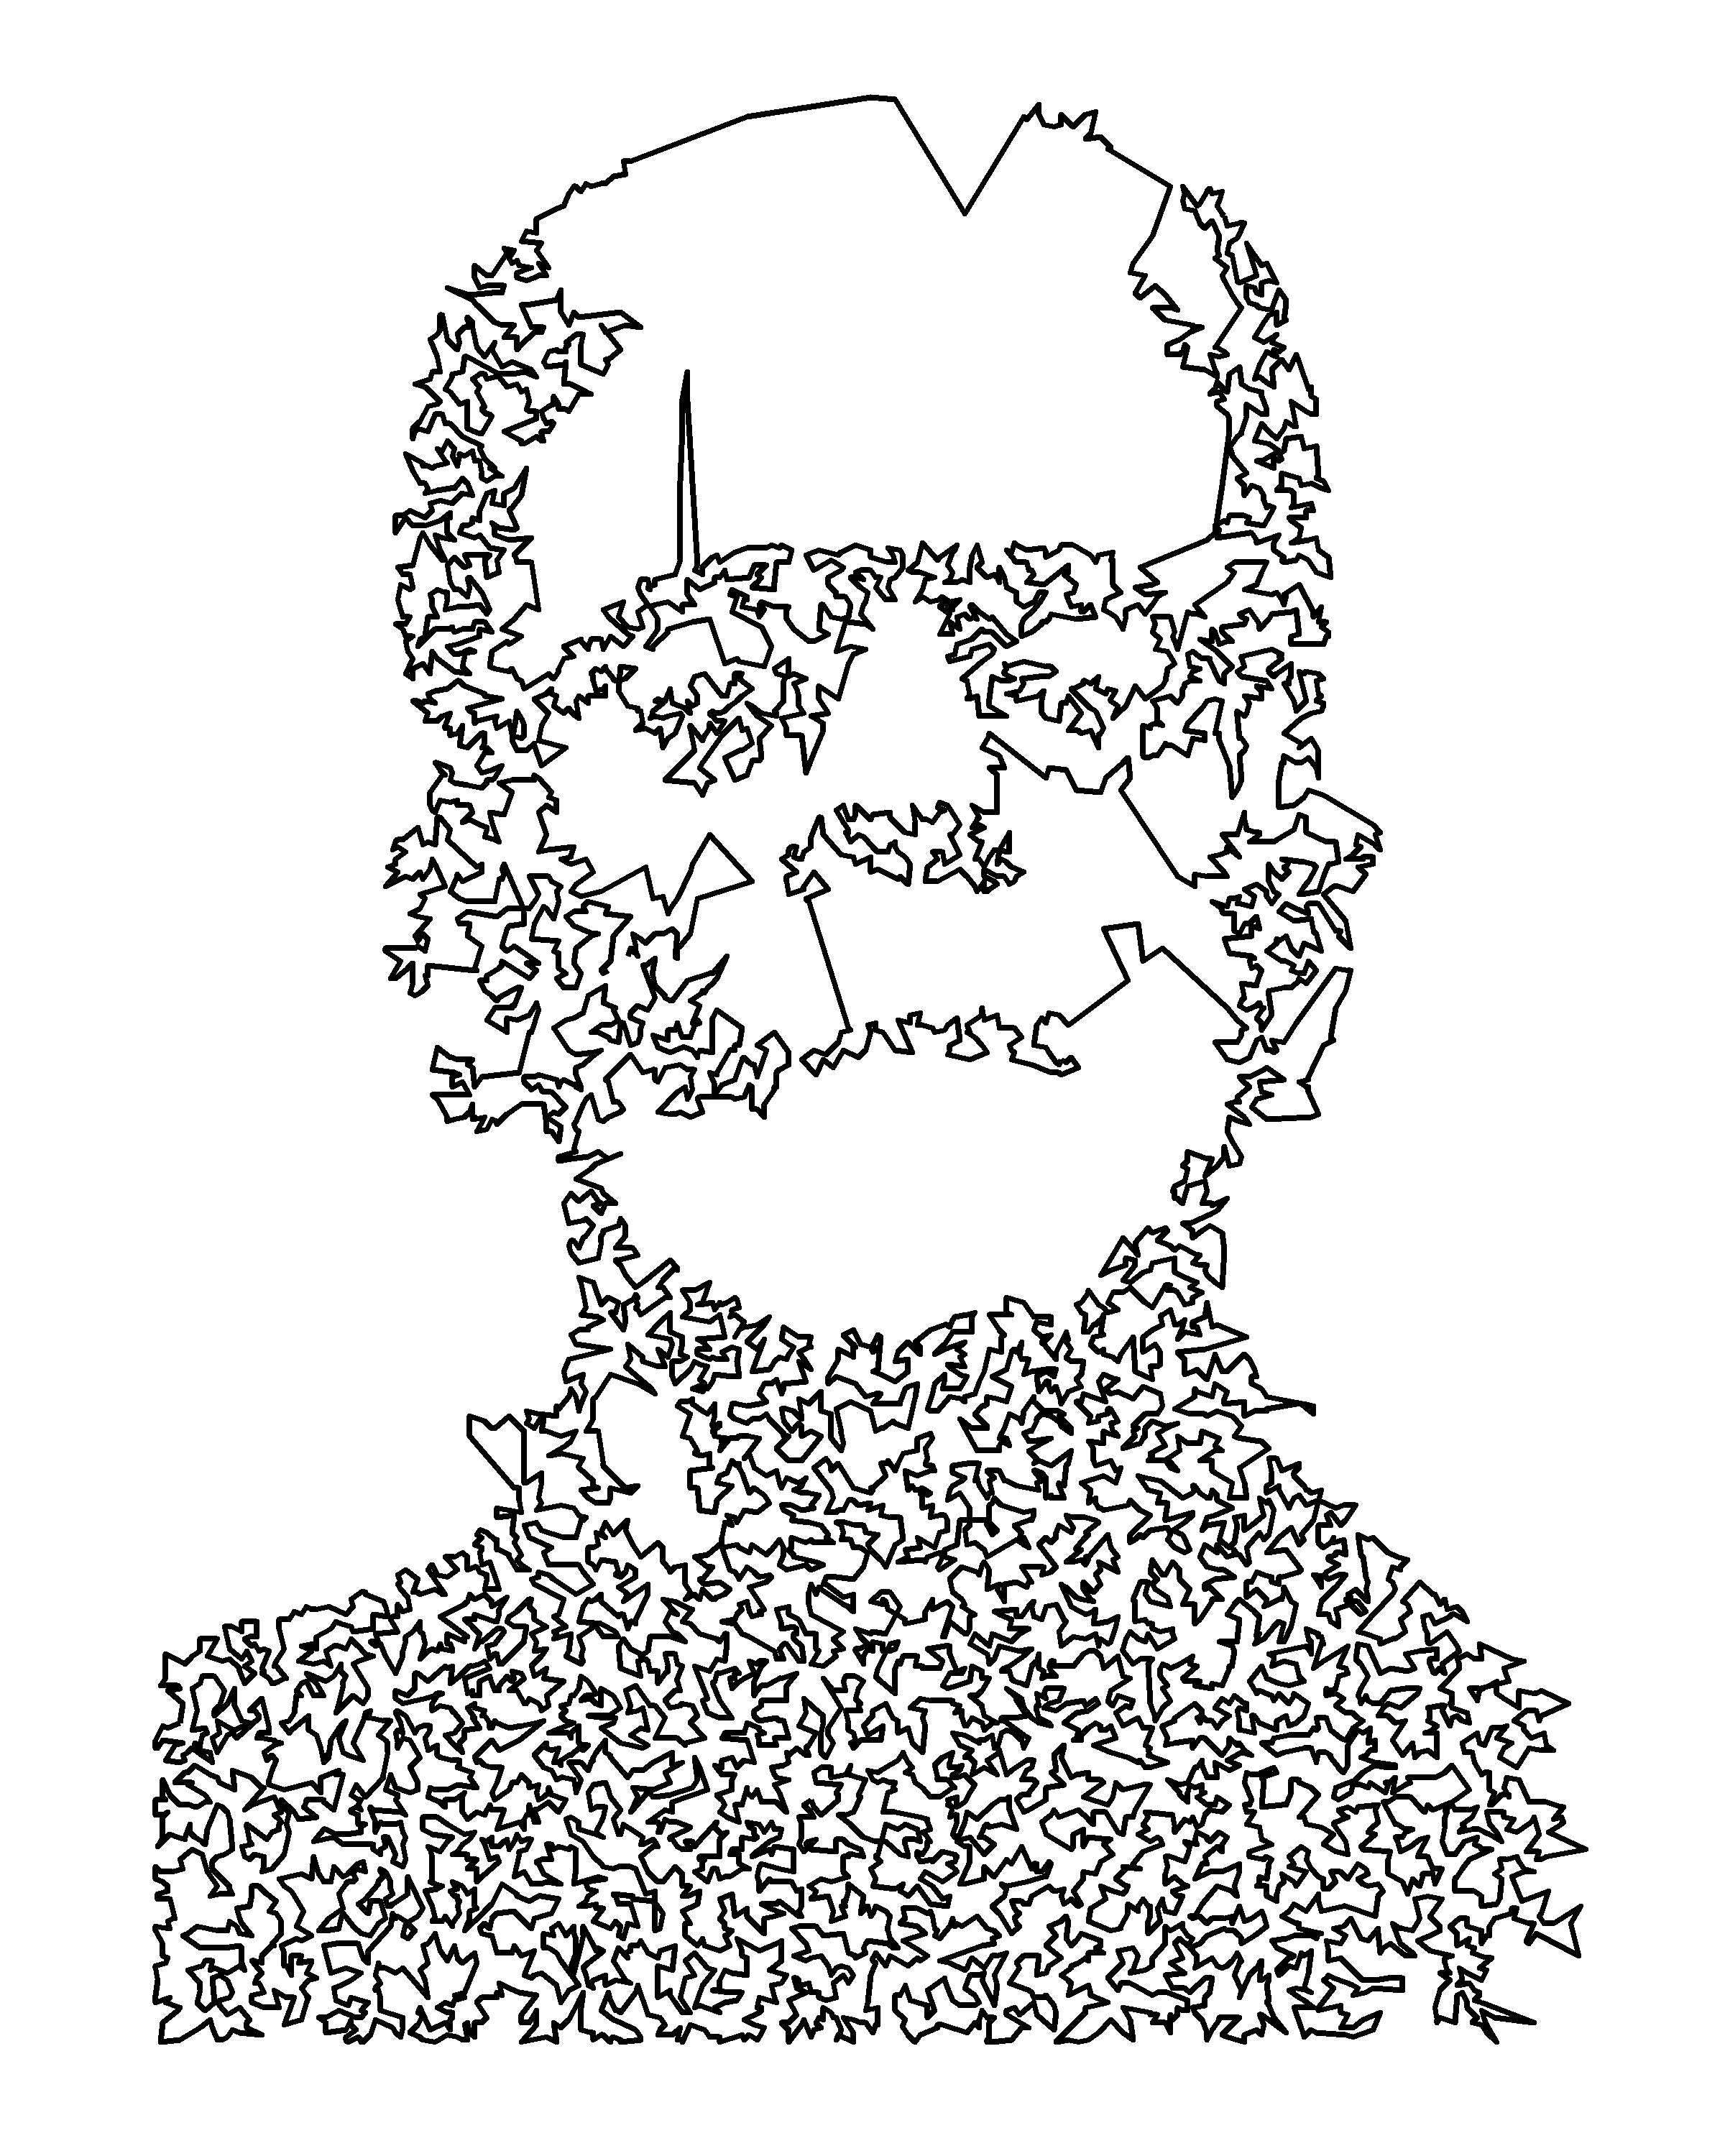
And voilà! We now have a traveling salesman portrait of the ever-handsome Frankenstein.

Finally, a side-by-side comparison:
plt.figure(figsize=(16, 10), dpi=100)

plt.subplot(1, 2, 1)
plt.imshow(original_image)
plt.grid(False)
plt.xlim(0, 600)
plt.ylim(0, 800)
plt.gca().invert_yaxis()
plt.xticks([])
plt.yticks([])

plt.subplot(1, 2, 2)
plt.plot([x[1] for x in optimized_path_points],
         [x[0] for x in optimized_path_points],
         color='black', lw=1)
plt.grid(False)
plt.xlim(0, 600)
plt.ylim(0, 800)
plt.gca().invert_yaxis()
plt.xticks([])
plt.yticks([])

If you want to make your own traveling salesman portrait, you can use my Python script on GitHub. Enjoy!